


Like in almost any Additive Manufacturing process, post-processing is an essential stage that should be conducted to obtain the final 3D printed part with the desired properties in resin 3D printing technologies. Whether we deal with stereolithography (SLA), digital light processing (DLP) or LCD 3D printing, leveraging the right post-processing tools to deliver the final part is sometimes what is needed to remove this misconception whereby resin 3D printing is only meant for the production of prototypes while FDM 3D printing can be best suited for production parts.
The article below aims to discuss the various methods/tools that can be leveraged to give a resin 3D printed part a great finish. It is part of two series of insights: a series that ambitions to provide a thorough understanding of each post-processing task, and another one that ambitions to understand the secrets of resin 3D printing. This latter series already made us delve into the various considerations that need to be taken into account to choose a resin 3D printer, and the different forms of toxicity and solutions explored to reduce it in such processes. These are all crucial information you should be aware of before utilizing a resin 3D printing technology.
That being said, it should be noted that resin 3D printing technologies can produce prints with fine details and very small features (as small as 03 mm). The bad press these technologies often suffer from is that, most prints often need to be oriented at an angle, requiring therefore support structures to be attached to the model. These supports eventually leave marks on the surface and create uneven surfaces hence the absolute need of at least one post-processing step.
We have already identified three commonly used post-processing steps that can be leveraged in a resin 3D printing workflow. Other post-processing steps can be performed depending on the manufacturing goal to achieve.
“The process can be daunting for any organization simply because of the number of steps required to finish a part. It includes multiple steps that are traditionally done manually by a technician and require both time and skill. This can become even more of an undertaking when companies scale their process into full production. Performing all these steps manually may be fine for a few desktop printers, but with multiple large format printers or a farm of dozens of smaller format machines, manual labor, and management of the excess resin can become problematic quickly. Many post-processing steps need to be performed in a resin workflow, including removing parts from the platform, removing uncured resin, traditionally with caustic solvents in tanks, and manually removing support structures. Additional steps can include UV and/or thermal curing”, an expert from PostProcess technologies told 3D ADEPT Media.
Before addressing the very first post-process step, let’s remind that this stage of the manufacturing process should be conducted with the required safety precautions: gloves (nitrile or neoprene gloves), glasses, protective clothing or a paper towel to catch any drips. Until the last step of the post-processing stage (curing in a UV curing box / chamber), the resin remains highly sensitive to UV light, so it’s recommended to avoid exposing it to UV light before post-curing; this way, it will not polymerize.
1- Cleaning the 3D printed part
Once the printing process is completed, the component (called green part) needs to be removed from the build plate. The operator (already protected with gloves) can do so by using a blade or a sharp tool. It is recommended to not use water or any cleaner to remove resin from the build platform. However, they can apply isopropyl alcohol (IPA), tripropylene glycol monomethyl ether (TPM), dipropylene glycol monomethyl ether (DPM – ideal for industrial applications -) or (Bio) Ethanol on the paper towel they will use to clean the build plate.
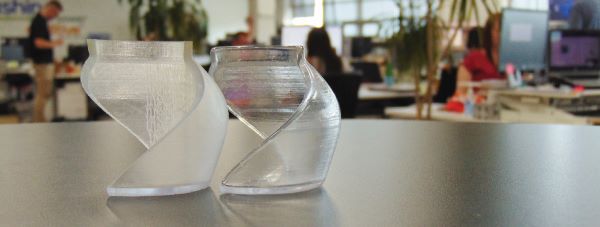
Although all these solutions can be used to wash the 3D printed parts, one notes a slight preference for IPA when it comes to washing the SLA prints. This step should be done before removing the support structures. The 3D printed part should be moved around in the solvent as well as soaked for optimal cleaning. Depending on the complexity of the part (whether or not it has narrow channels), or the resin used during the fabrication, the operator might need to use a syringe to clean the internal resin and stop resin from curing and blocking channels.
If you are dealing with large batches of production or if you need to do this step regularly, you might want to consider washing stations or ultrasonic bath. Washing stations can come as an additional option in your 3D printer package and sometimes, they can be designed for both washing and curing. An ultrasonic bath is used in professional environments. Once the bath is filled with one of the aforementioned fluids, the 3D print needs to sit for a couple of minutes so that the fine layer of uncured resin stuck can be removed.
In such cases, complete automation to the integral resin 3D print operation would be worth exploring. “Our resin removal solution automates the excess resin removal step in the resin workflow. Once the build plate is removed from the printer, the entire plate (for most printers) can be placed directly into a PostProcess DEMI series solution, where both the parts and the plate are cleaned of uncured resin. Our solutions are automated thanks to a combination of proprietary software, advanced hardware, and sustainable chemistry”, PostProcess Technologies says, speaking of their solution. Due to the saturation limits of their proprietary detergent compared to that of IPA, the company’s solution creates less waste during the resin removal process when compared to traditional solvents. “It is also a safer option than traditional solvents, as it has a significantly higher flashpoint than IPA. The PostProcess comprehensive system of software, hardware, and chemistry is proven to reduce post-processing steps by 50% or greater. The proprietary process reliably removes resin materials from even intricate or delicate 3D printed parts while increasing productivity and reducing cycle time, consistently cleaning full trays in under 10 minutes”, PostProcess Technologies says.
2- Removing the support structures
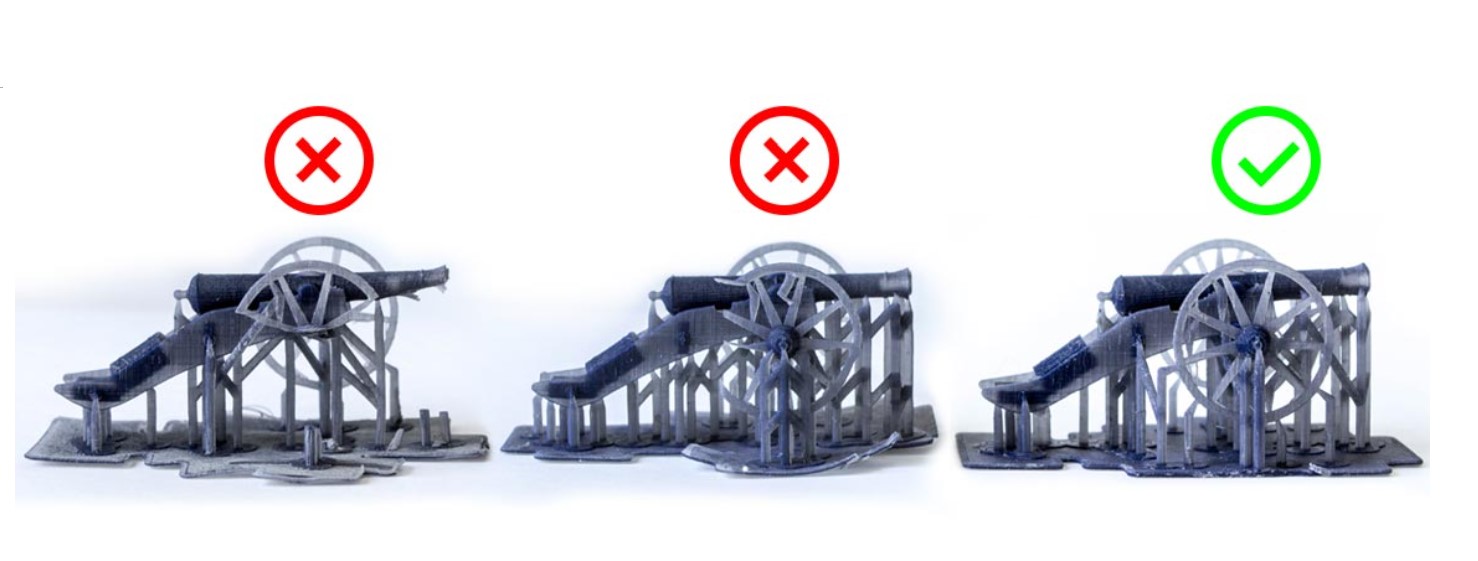
This step can be done before or after curing. In general, it is recommended to remove the structures before the curing process because the process is easier. Operators that remove them after curing, take the risk of damaging the part or taking off small divots of material.
In any case, the cleaning step should have left very little to no stickiness on the surface. The operator would therefore need a model cutter or flush cutter to remove the supports – if they do not want to do it by hand.
3- Curing or post-curing the 3D printed part (depending on the 3D printer used)
The 3D printer resin left on your print’s surface can be harmful and cover the part’s fine details by forming a thick layer of uncured resin; not to mention that, sometimes, the resin 3D printer does not adequately cure some areas of the print – leaving the part unable to use for end-use. A UV-curing station comes into play to cure the model and make it ready for the end-application.
In more technical words, one notes that the polymerization reaction is not necessarily completed after the printing process. This means parts cannot deliver their final material properties hence its exposure to light and heat. This process is called post-curing and helps to solidify the material properties.
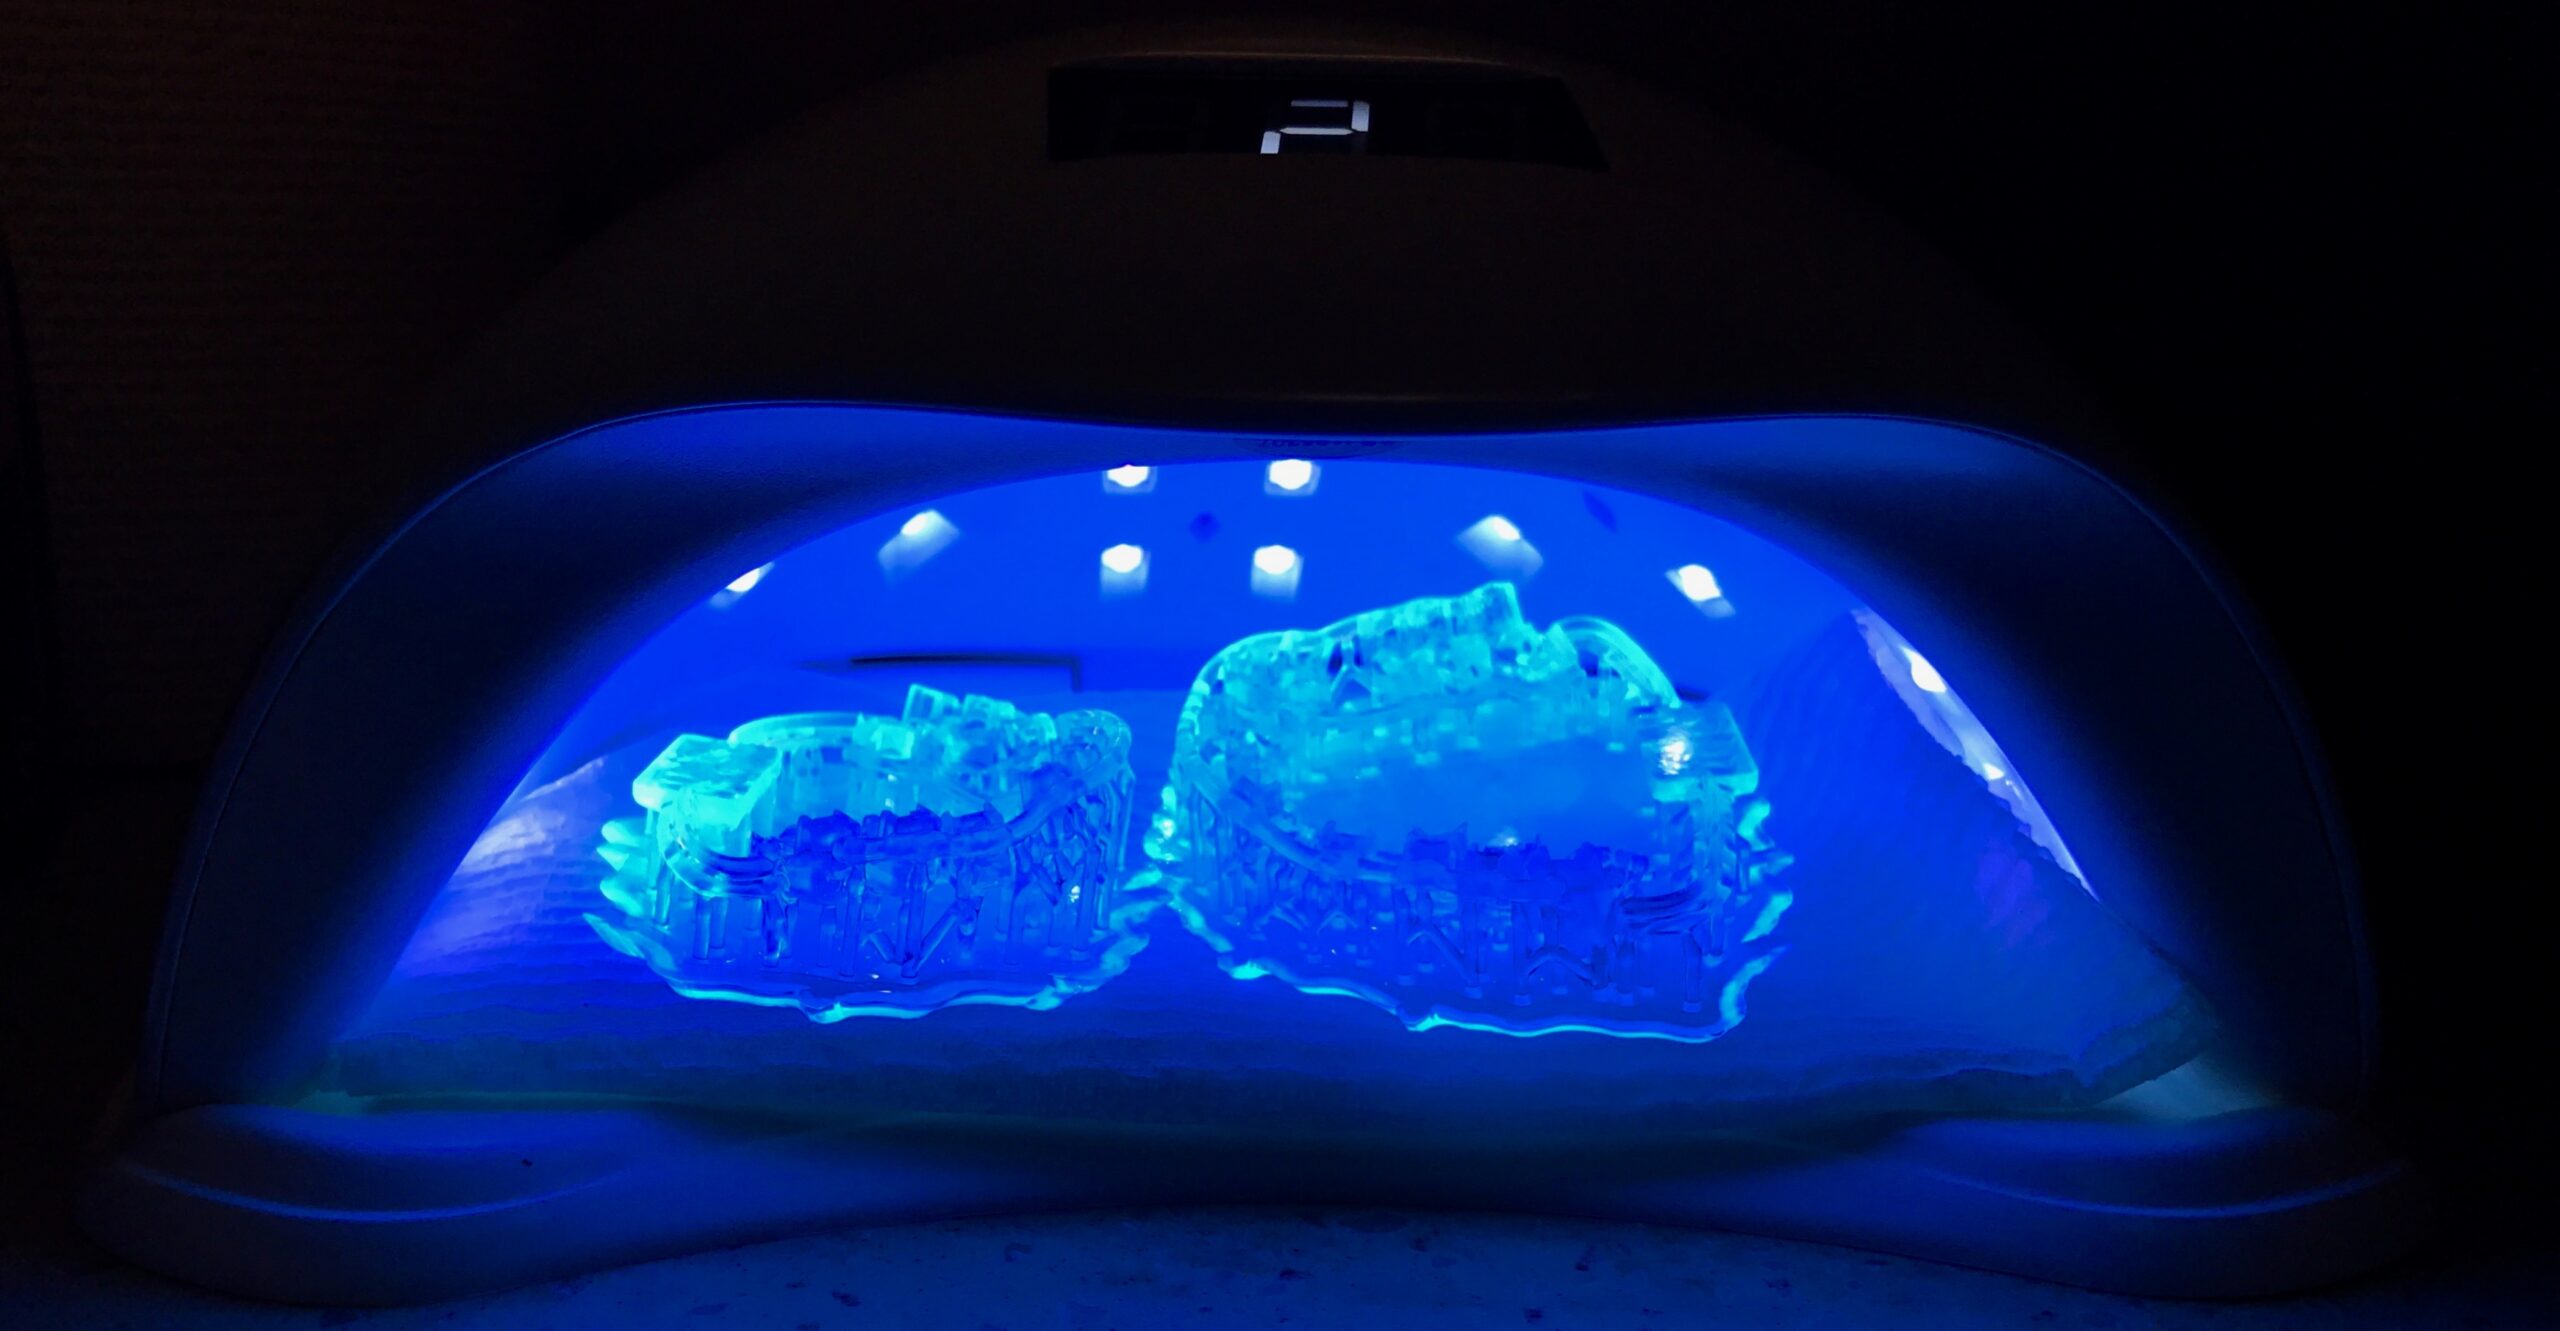
SLA, DLP or LCD 3D printed parts may require to cure in a high-power UV curing box / chamber for 15 minutes at 65 degrees Celsius. The preferred wavelength of the curing unit should be between 300 – 420 nanometres (nm).
This step can also be a great fit for parts with a wide range of thicknesses and unsupported overhangs that suffer from warpage due to irreversible deformation during thermal cure. As seen in Carbon Digital Light Synthesis™ (Carbon DLS™) 3D printing process, this “baked-induced inaccuracy typically originates from differential shrinkage between thinner and thicker walls of parts, and parts softening at elevated temperatures. UV post-cure can potentially address these issues by reducing mass loss during baking and increasing green strength.”
“There are different workflows for different resins. This can require a very specific workflow to create the desired end product. For example, most prints will require a UV curing step, but the UV exposure can vary between each resin to achieve the mechanical properties advertised by the resin manufacturer. Removing excess resin from parts is done using solvents, but we cannot use one solvent for every resin. Differing resin properties may call for different solvents”, PostProcess Technologies warns us.
Some resin 3D printer manufacturers tend to release these post-processing machines alongside their resin printers to give the user an end-to-end resin 3D printing setup. Others partner with post-processing experts to provide a complete 3D printing setup to their customers. A similar partnership has been seen with Carbon and Post-process Technologies for resin removal solutions. Those who cannot afford to pay a curing station can use a nail polish lamp and let the model sit overnight or build their own curing chamber. If you have a limited batch of parts and if you are not limited by stringent production time, an environmental-friendly option would be to use solar power.
Other post-processing solutions for resin 3D printed parts
In general, these three main steps constitute the main ones that can be explored to deliver resin 3D printed parts with the desired properties. Other solutions can be explored depending on specific manufacturing requirements – to deliver detailed finish, smoother surface and colorful parts. They include for instance sand blasting, grinding, painting, coating or electroplating.
This article has first been published in the 2022 September/October edition of 3D ADEPT Mag.
Remember, you can post jobopportunities in the AM Industry on 3D ADEPT Media free of charge or look for a job via our job board. Make sure to follow us on our social networks and subscribe to our weekly newsletter : Facebook, Twitter, LinkedIn & Instagram ! If you want to be featured in the next issue of our digital magazine or if you hear a story that needs to be heard, make sure to send it to contact@3dadept.com


