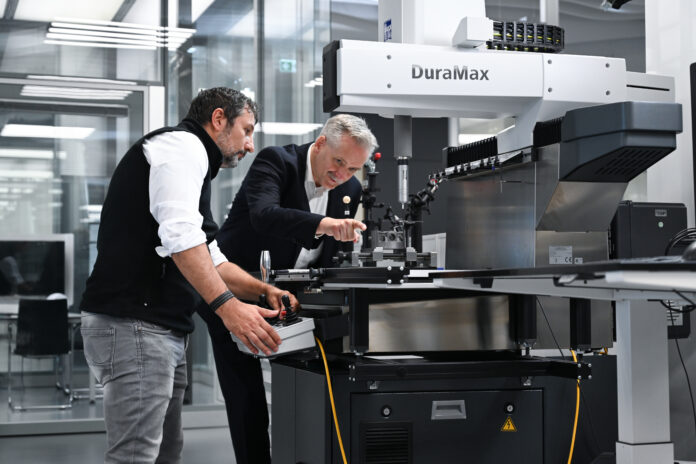
Additive Manufacturing is certainly the ideal manufacturing tool to fabricate components that one could not manufacture with conventional manufacturing processes but there is one thing we tend to forget: this technology does not benefit from the century of research into the production of components that is the hallmark of precision subtractive techniques. This means that, at some point, along the manufacturing value chain, there are certain things that subtractive techniques’ experts do better, and that still require a lot of improvements on the additive manufacturing side. These things are for instance metrology and inspection.
The first thing every engineer learns at school is that metrology is the science of measurement while inspection consists in measuring, examining, testing, or gauging one or more characteristics of a product or service and comparing the results with specified requirements to determine whether conformity is achieved for each characteristic. These two concepts have contributed to the success of several products produced via conventional manufacturing processes. While we do not doubt they can accomplish wonders with additive manufacturing technologies, the guidelines and acceptable methods that can be used in AM are still questionable.
Why is that? How important are metrology and inspection to additive manufacturing? What are the different routes a component can go through when operators are looking to perform metrology and conduct an inspection method?
The truth is, metrology and inspection are very large concepts whose advancements often create confusion in the mind of AM users.

“There are a lot of grey areas when it comes to metrology and inspection. Sometimes, these grey areas are reflected on the way each industry understands or defines each concept. Confusion can also arise when you see terms like inspection metrology, a term that does not enable to accurately differentiate the role of each concept. The fact is, both concepts are quite different, especially when we look at the quality management planning of manufacturing”, Dr. Edson Costa Santos, Senior Application Development Manager Additive Manufacturing Process & Control at ZEISS, states from the outset.
Interestingly, for non-experts in the field, the concept of inspection can easily be understood as it is a term that we often use on a daily basis and in different environments. “For instance, the terms ‘home inspection’, ‘police inspection’ give you an idea of what inspection is but when we talk about metrology, a lot of people won’t be able to say what this term means”, Santos adds. When we look at industries, Santos said it is easy to understand the differences between metrology and inspection in the semiconductor industry while in precision engineering for instance, there is a lot of measurement definitions in inspection methods that are close to metrology ones.
The easiest way to avoid confusion between both concepts is therefore to see inspection as “the first step to distinguish between an accepted or rejected component. It’s simply the process of checking something, and see if it meets certain standards. Metrology on the other hand, deals with the definition of units, realization of units, standards, traceability and calibration and also the uncertainties of measurements.”The easiest way to avoid confusion between both concepts is therefore to see inspection as “the first step to distinguish between an accepted or rejected component. It’s simply the process of checking something, and see if it meets certain standards. Metrology on the other hand, deals with the definition of units, realization of units, standards, traceability and calibration and also the uncertainties of measurements.”
This exclusive feature therefore ambitions to capture the essence of both concepts for AM as well as draws a landscape that would enable beginners in AM to understand them. While some of the notions will not be new to advanced users, this feature aims to remind them the importance of these concepts as well as all the challenges experts in the field currently address in order to support the advancement of AM.
“If you cannot measure it, you cannot improve it”, Lord Kelvin.
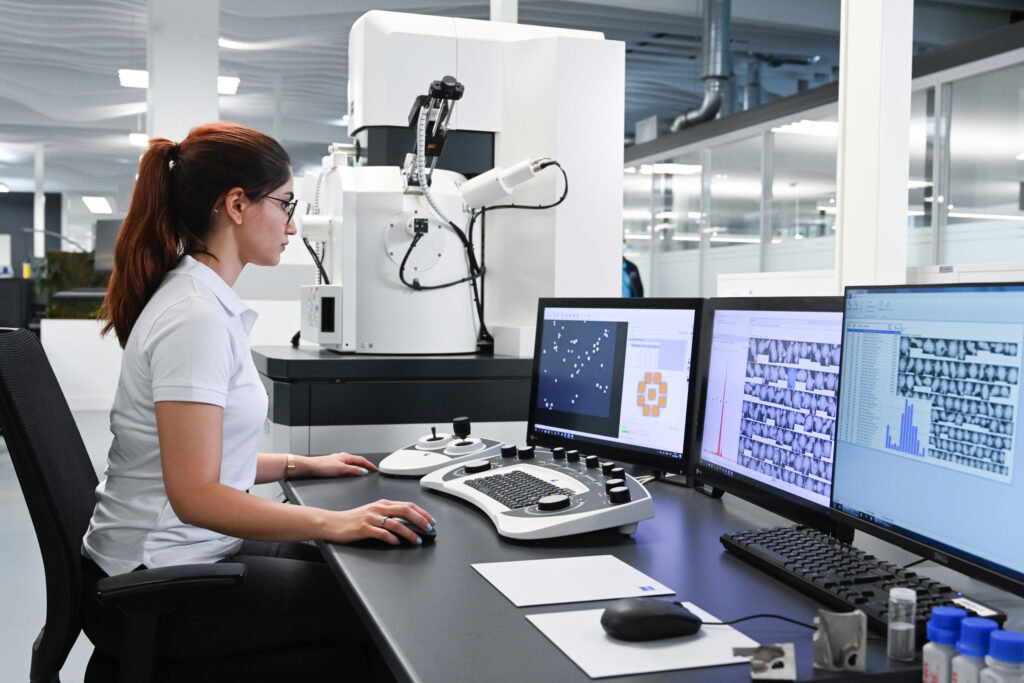
A simple statement that highlights the pivotal role of metrology in manufacturing. This statement can also be controversial because editors at 3D ADEPT Media spend time explaining how you can improve your manufacturing process, so why would you need to invest extra miles into measuring what you manufacture ? Please, bear with us as we looked for some reasons:
- To ensure that a part is fit-for-purpose;
- To make assembly work: if you do not understand the dimensions of the components and their tolerances, it’s hard – even impossible – to fit one part to another. The reason is even more important when there are several parts manufactured at different companies that need to be assembled.
- To avoid unneeded scrap material: As the ZEISS expert says, “metrology is pivotal for quality control which allows us to attempt things such as net-shape manufacturing” – getting it right first time as operators dream to achieve with AM.
- To enable control of a manufacturing process: imagine that you need to amend the speed of a cutting tool according to surface texture. You will have to measure the texture during the machining process.
- To give or increase customers’ confidence in a product: indeed, without tolerances and quality control, there will be no confidence in the assembly processes down the line. To me, this reason alone should be enough to make you understand the ins-and-outs of metrology for AM – especially when we know that for many industries, AM remains a nascent yet very expensive technology and God knows how much a new technology may look suspicious to people.
That being said, the aforementioned reasons imply that a number of measurement techniques can be used to address the different needs to meet in the manufacturing value chain. As a matter of fact, there are several areas where metrology can be explored in additive manufacturing. They include but are not limited to on-machine and in-process measurements, metrology of surface texture, defect measurement and control, materials property measurement, process-function correlation studies, AM machine testing and validation, dimensional and geometrical product specifications and verification, Metrological traceability and uncertainty, etc.
To make it easy to understand where they should be applied, Costa Santos explains there are several ways to classify metrology tools, some examples below:
- Contact and non-contact measurement: “contact-type devices must touch the part in order to perform measurement while non-contact devices can measure several points without putting pressure on the part. A non-contact measuring instrument uses for example light while contact-type measuring devices use a stylus. Non-contact measuring tools can also include optical laser or laser scanners.” Hybrid machines can use both type of measurement tools. On another note, as many automotive examples are given throughout this edition, let’s note that contact systems, such as mechanical probe-based coordinate measuring machines (CMMs), are often used in the automotive industry. However, they are often considered as relatively slow and they only measure a limited number of points on an object’s surface.
- One can also classify them by equipment. Such equipment includes for example micrometers, optical scanners, industrial tomography systems, microscopes, etc.
- and measurement volumes which include 2D, 3D or 4D measurement techniques.
The hidden complexities/uncertainties of inspection methods
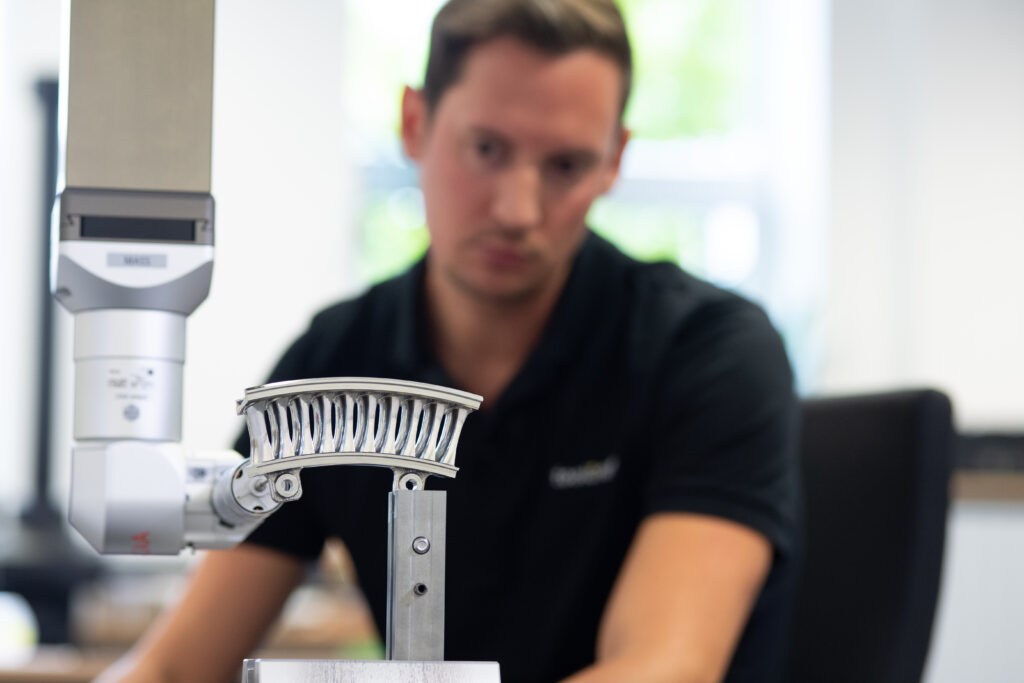
No matter what advanced manufacturing technologies industrials use, or no matter how well we focus our efforts on the manufacturing size, inspection methods make us rethink our priority which must remain safety and quality.
Furthermore, quality and assurance may often be mentioned as part of the post-processing stage but it is important to keep in mind that they can be used at various levels of the manufacturing value chain. “As far as AM is concerned, we can inspect a powder, and assess if the powder meets all required characteristics before it is used for production. During production, the AM machine and process can be inspected and after production, we can inspect the 3D printed part”, Costa Santos outlines.
Speaking of tools, the same mechanical and nondestructive inspections utilized in most conventional manufacturing processes can also be applied in AM. Your choice for inspection methods will therefore be determined by the type of parts you will produce. The same applies for software solutions.
“Depending on the metrology and inspection tools, you will use, you may have different software solutions for both processes just as you may have the same software solution for both processes”, the expert notes. Whether we talk about metrology or inspection, most tools can be utilized in both AM and conventional manufacturing processes. However, depending on the AM technology used, there might be a need to further adapt your tool for AM. Two examples are ZEISS in process monitoring systems to see what is happening layer by layer during the process and allows close feedback control; and the need in AM to inspect complex cooling channels non-destructively, both roughness and integrity (powder remaining). There are especially varying degrees to inspection. [At the end of the day, it comes down to choosing the option that delivers the best approach at ensuring part conformance and integrity]”, the ZEISS representative notes.
AM processes often require dimensional, external and internal testing, and sometimes a specific surface roughness. Our guest mentions coordinate measurement machines (CMM), gages, and 3D scanners when it comes to dimensional inspections. A combination of these devices can be used in factories.
Other inspection methods include visual (VT), fluorescent liquid penetrant (PT), and electromagnetic (ET) for external surface testing; and on the other hand, ultrasonic (UT), radiography (RT), electromagnetic (ET), and computed tomography (CT) for internal testing.
The debate starts when experts cannot accurately attribute to a specific AM process. Like in most cases in AM, the answer to the question “what inspection method best suits which AM process is” “sometimes” or “assuming that an additional process is performed upfront or later on”. Indeed, sometimes, operators can conduct some surface preparation and smoothing or even additional thermal processing.
From a manufacturing standpoint, it should be noted that not only can the layer-by-layer principle introduce defects that traditional manufacturing processes would have not mentioned, but the 3D printed part is often produced in one unit (unlike conventional manufacturing processes that may manufacture one component in different parts before the assembly). This means that if the newly 3D printed part currently replaces 4 parts usually created via conventional processes, those parts would each have their own inspection requirements.
To these uncertainties, the Senior Innovation Manager replies: “Quality is always aggregated to manufacturing processes. So, the level of metrology and inspection will depend on the aggregate value of your part. Is it a visual prototype? Is it a final part submitted to fatigue loads? It depends on how critical the part is.”
In practice, what does applying measurement and inspection techniques look like in additive manufacturing?
Two years ago, we covered the first experience of MAHLE with additive manufacturing. For the production of high-performance aluminum pistons for Porsche’s 911 GT2 RS sports car, the supplier to the automotive industry worked in collaboration with Porsche, Trumpf, and ZEISS, in a project headed by Porsche.

MAHLE’s experience in thermal processes has enabled the team to design a piston which can only be produced using 3D Printing technologies. The bionic design exactly reproduces natural structures of the part.
A special aluminum alloy developed by MAHLE was added in loaded areas, which facilitated the adaptation of the piston structure to the load. The alloy was atomized into a fine powder before being printed on Trumpf’s laser metal fusion technology.
However, it should be noted that the quality and performance of the materials used and of the components is ensured by means of solutions from ZEISS. From powder to finished component, ZEISS developed a comprehensive quality assurance process that could meet the highest quality standards of the automotive industry (in other terms, ensure the right component quality).
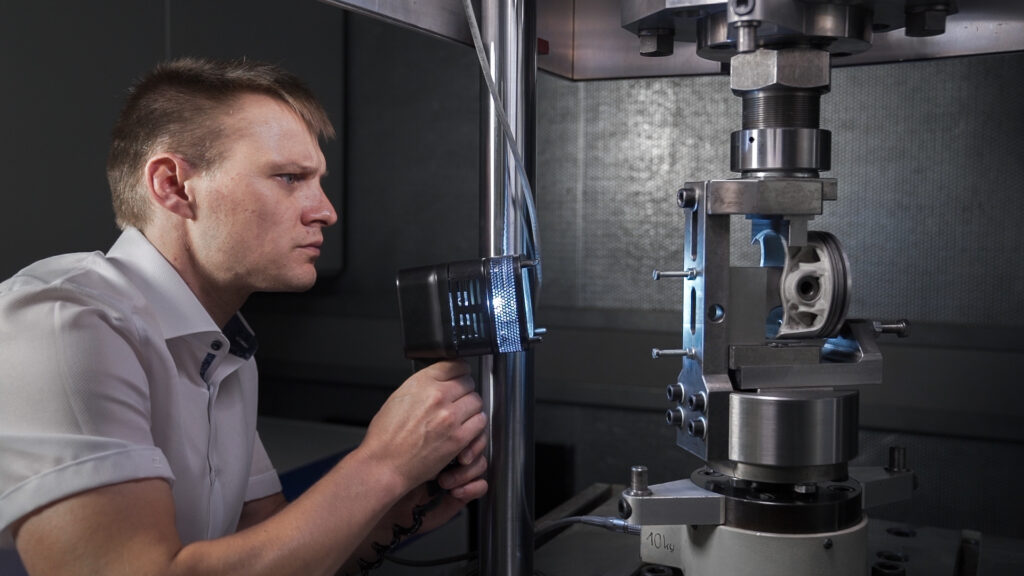
In this specific case, the team explains that the powder’s particle size distribution, particle shape, chemical composition and even porosity inside the powder particles are examples of properties which can influence component quality. The fact that the powder’s properties can change each time it is reused must be taken into account, and deviations need to be detected in a manner that is appropriate for the production process.
For example, if the powder’s particle size distribution changes as a result of repeated use, the quality of the applied powder layer may be affected, and simultaneously the risk of pores forming as a result, or of other component defects arising, may increase dramatically.
Light microscopes, scanning electron microscopes and X-ray microscopes from ZEISS are used to analyze the quality of the powder before and after piston production, and the microstructure of the finished component is tested in order to identify defects or property characteristics. Through further processing of the analysis data and additional evaluation processes, it is possible to determine optimized settings for printing. Successful print results must also go through a variety of post-processing steps to ensure that the material and component properties are optimal.
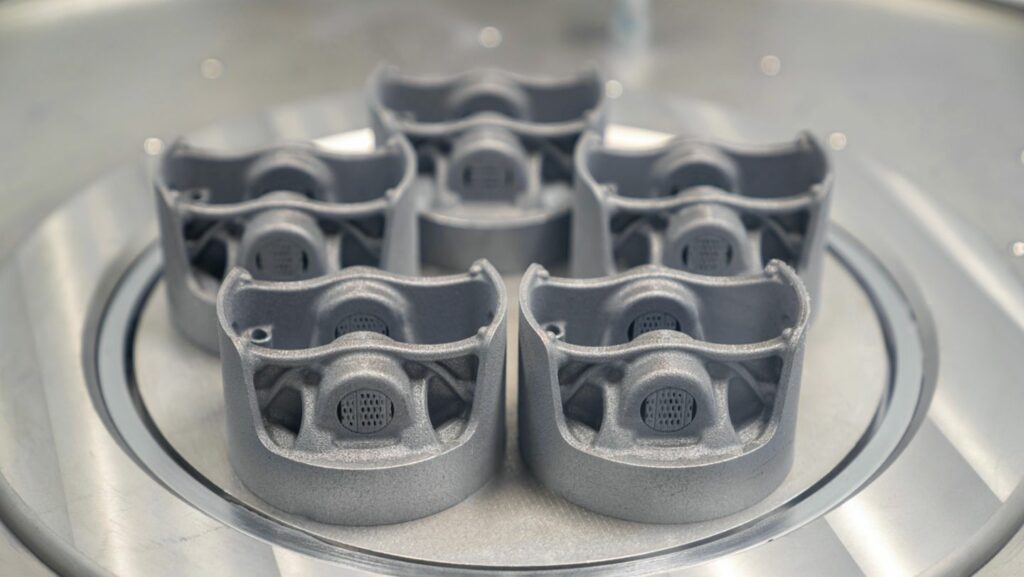
During process development, for example, the component’s structure can be inspected using specially equipped scanning electron microscopes or X-ray computed tomography before and after the heat treatment processes. To analyze the impact of individual production steps on the final quality of the component, an optical 3D scanner or industrial computed tomography are used in addition to a coordinate measuring machine. The ability to seamless combine these procedures is a decisive factor.
The pistons still on the print bed were scanned using a 3D scanner. Once they are removed from the bed, the individual production steps as well as the internal structures can be inspected using computed tomography while defect analysis is performed at the same time. At the end, a final measurement is performed with the coordinate measuring machine. The core capability of ZEISS’ comprehensive quality assurance process is the linking of all data across the various analyses.
Concluding thoughts
This exclusive feature left me with certain certainties and opens up other questions, that I hope we will discuss in other features.
The first certainty is that metrology and inspection can be different, but they work hand in hand in additive manufacturing. One thing that I am keeping in mind from my conversation with Santos is that if you do metrology, at some point, you would need to perform some inspection.
On the other hand, the technical standpoint highlights the importance of measurement and characterization of a part shape for quality control of additively manufactured parts. Most importantly, they are important when it comes to characterizing and optimizing AM processes or when new materials and part geometries are developed.
Lastly, while the application with the Porsche part reveals that ZEISS is one of the companies that has built up expertise in the development of comprehensive quality assurance processes, I am keeping some concerns regarding the current metrology and inspection methods used for AM exclusively, for example inline realtime in process monitoring systems as pointed out by Costa Santos. My expectations were probably very high when I started exploring this topic as I didn’t expect to discover very few inspection methods, exclusively designed for AM (or let’s say, I didn’t expect so many inspection methods that can be used for both conventional manufacturing processes and AM processes). When I look across the AM value chain, I see a lot of advancements on the manufacturing processes themselves, I see dedicated post-processing steps developed especially for these manufacturing processes, and it made sense to me to expect the same for metrology and inspection processes.
Maybe I didn’t dive enough (or at all) into the parameter development and optimization for specific AM processes? Maybe I should look at in-process and post-print processes that can further increase productivity and efficiency? Or identify other areas of AM where metrology can be applied?
In any case, there are definitely new inspection methodologies that need to be discussed, evaluated, and developed; and that’s something we (at 3D ADEPT Media) will watch closely.
This content has first been published in the March/April edition of 3D ADEPT Mag.
Remember, you can post job opportunities in the AM Industry on 3D ADEPT Media free of charge or look for a job via our job board. Make sure to follow us on our social networks and subscribe to our weekly newsletter : Facebook, Twitter, LinkedIn & Instagram ! If you want to be featured in the next issue of our digital magazine or if you hear a story that needs to be heard, make sure to send it to contact@3dadept.com


