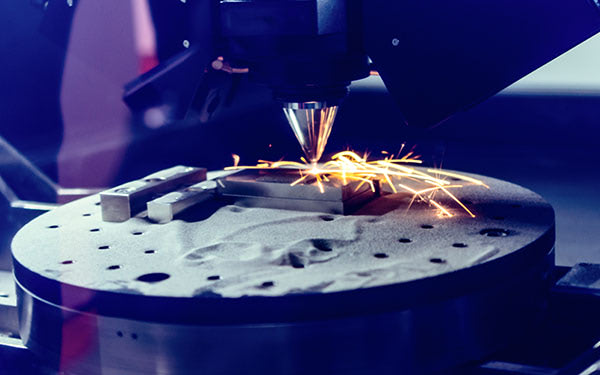
Acoustic monitoring for detecting porosity in laser powder bed fusion could be viable.
In a recent article, we learned that one can identify defects in a laser powder bed fusion machine using the Materialise Quality & Process Control (QPC) Layer Analysis software, a software solution that employs artificial intelligence to meticulously inspect layers captured by the cameras on 3D printers.
As we continue to explore new solutions that could help achieve this laborious process, we came to realize that, another approach to defect identification will require to listen to what happens in the LPBF 3D printer.
As a reminder, traditional monitoring methods include thermal imaging and machine learning algorithms, which may lead to different interpretations or elusive precision manufacturing.
According to a research team from the Laboratory of Thermomechanical Metallurgy (LMTM) at EPFL’s School of Engineering, it would be possible to detect defects in real time based on the differences in the sound the printer makes during a flawless print and one with irregularities.
Professor Roland Logé, the head of the laboratory, stated, “There’s been an ongoing debate regarding the viability and effectiveness of acoustic monitoring for laser-based additive manufacturing. Our research not only confirms its relevance but also underscores its advantage over traditional methods.“
Lead researcher, Dr. Milad Hamidi Nasab, remarked, “The synergy of synchrotron X-ray imaging with acoustic recording provides real-time insight into the LPBF process, facilitating the detection of defects that could jeopardize product integrity.”
How does it work?
The research team explains that when the laser interacts with the metal powder, creating what is known as a melt pool, it fluctuates between liquid, vapor, and solid phases. Occasionally, due to variables such as the laser’s angle or the presence of specific geometrical attributes of the powder or of the part, the process might falter. These instances, termed “inter-regime instabilities,” can sometimes prompt shifts between two melting methods, known as “conduction” and “keyhole” regimes. During unstable keyhole regimes, when the molten powder pool delves deeper than intended, it can create pockets of porosity, culminating in structural flaws in the end product. To facilitate the measurement of the width and depth of the melt pool in X-ray images, the Image Analysis Hub of the EPFL Center for Imaging developed an approach that makes it easier to visualize small changes associated with the liquid metal and a tool for annotating the melt pool geometry.
The team’s solution is therefore an experimental design that melded operando X-ray imaging experiments with acoustic emission measurements. The amalgamation with an ultra-sensitive microphone, positioned inside the printing chamber, pinpointed distinct shifts in the acoustic signal during regime transitions, thereby directly identifying defects during manufacturing.
With the introduction of an adaptive filtering technique, the team has been able to distinguish the relationship between defects and the accompanying acoustic signature.
While it’s too soon to tell if this will lead to a commercial application, the research suggests the potential for early detection and correction of defects and how it can lead to consistent manufacturing within high-demanding industries such as aerospace and precision engineering.
Read the entire research here.
Remember, you can post job opportunities in the AM Industry on 3D ADEPT Media for free or look for a job via our job board. Make sure to follow us on our social networks and subscribe to our weekly newsletter: Facebook, Twitter, LinkedIn & Instagram ! If you want to be featured in the next issue of our digital magazine or if you hear a story that needs to be heard, make sure you send it to contact@3dadept.com


